There are many ways to make a piñata. This web site shows how I do it, but don’t feel limited by what you see here – any way that works is the right way, so use your imagination, try out some new ideas, and have fun. Don’t be afraid of making mistakes – most mistakes in piñata-making can be easily fixed, and the rest can be hidden in the decorating. Piñatas are very forgiving.
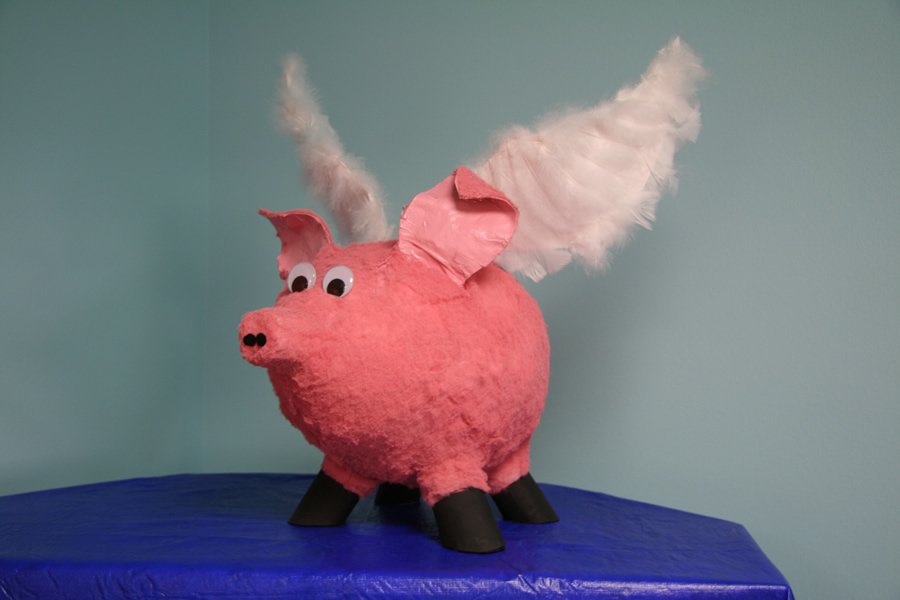
I think of piñatas in two basic groups – simple or structured. A simple piñata is built around one or two balloons and most of the work is in the decorating. Examples from this site include the Heart piñatas, the Santa Smiley, and the Pigasus.

Visit the Simple Piñatas page for more examples.
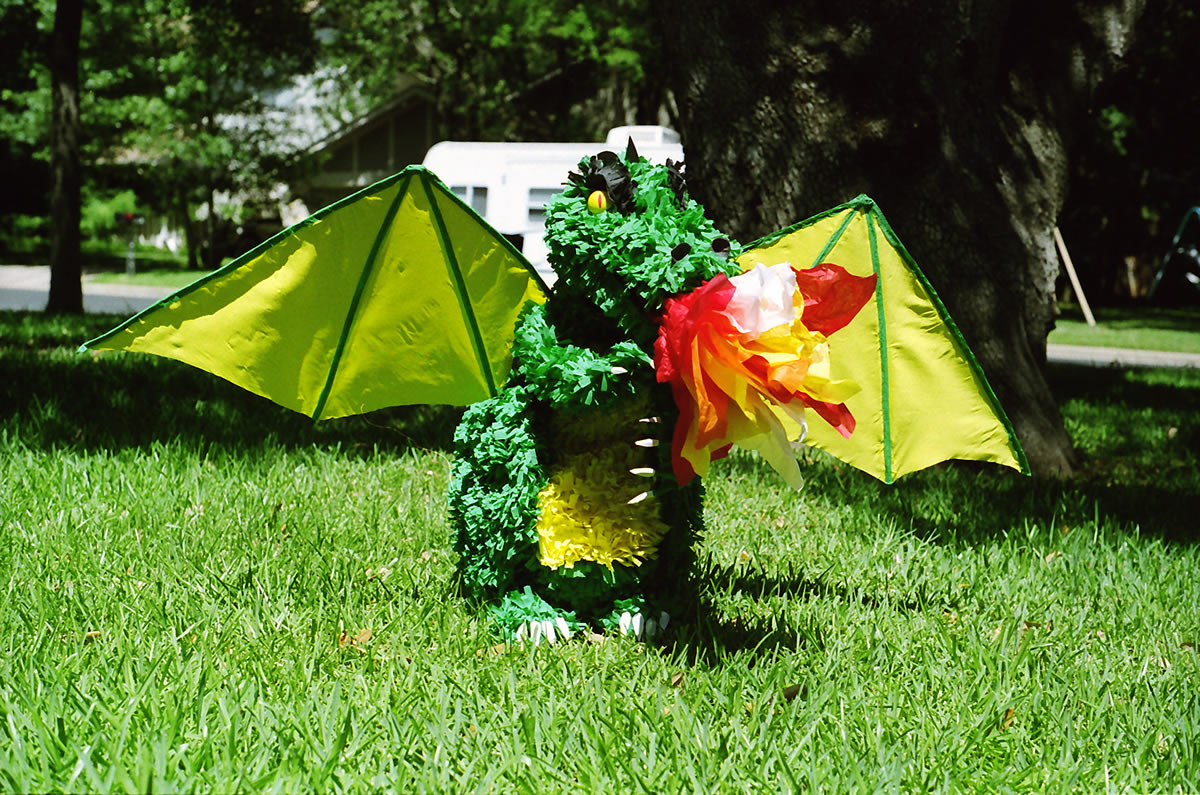
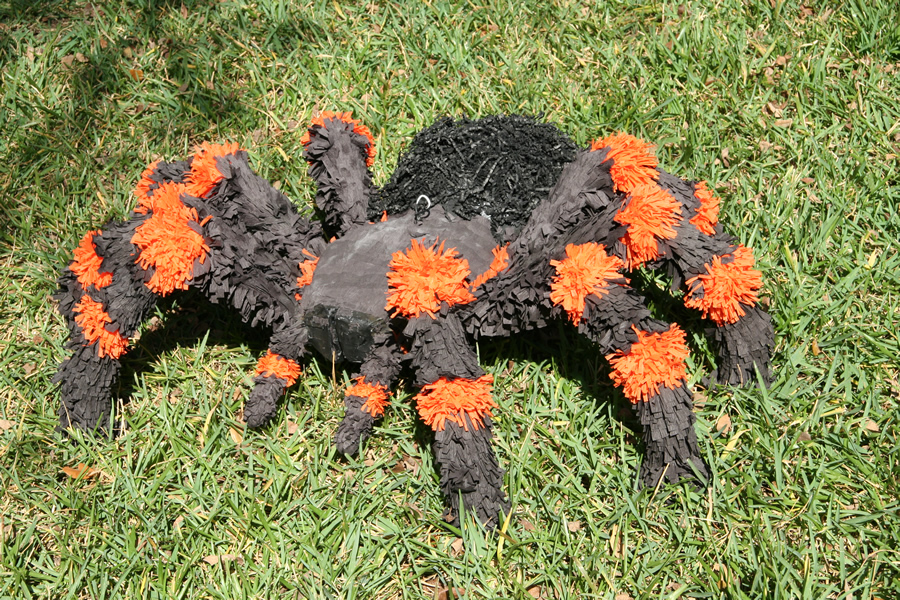
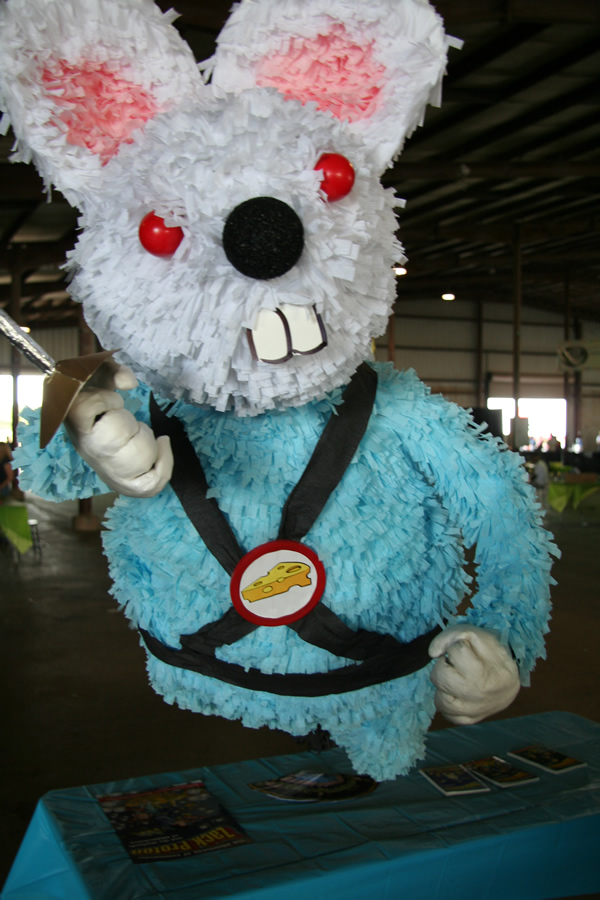
A structured piñata is one that has many separate pieces that have to be attached together before the decorating can begin. Examples include the Dragon, Tarantula, and Space Mouse. There’s a lot more papier mâché work involved in making a structured piñata.
When you’re considering what kind of piñata to make, remember that a simple piñata usually means only one day of working with papier mâché, but the papier mâché work on a structured piñata can sometimes require a week or more because there is so much drying time required. You won’t be working a whole week on a structured piñata – just an hour or two each day – but it’ll take a longer period of time overall.
No matter what kind of piñata you make, getting an early start is always better – and that way you can enjoy it longer before it gets smashed.