
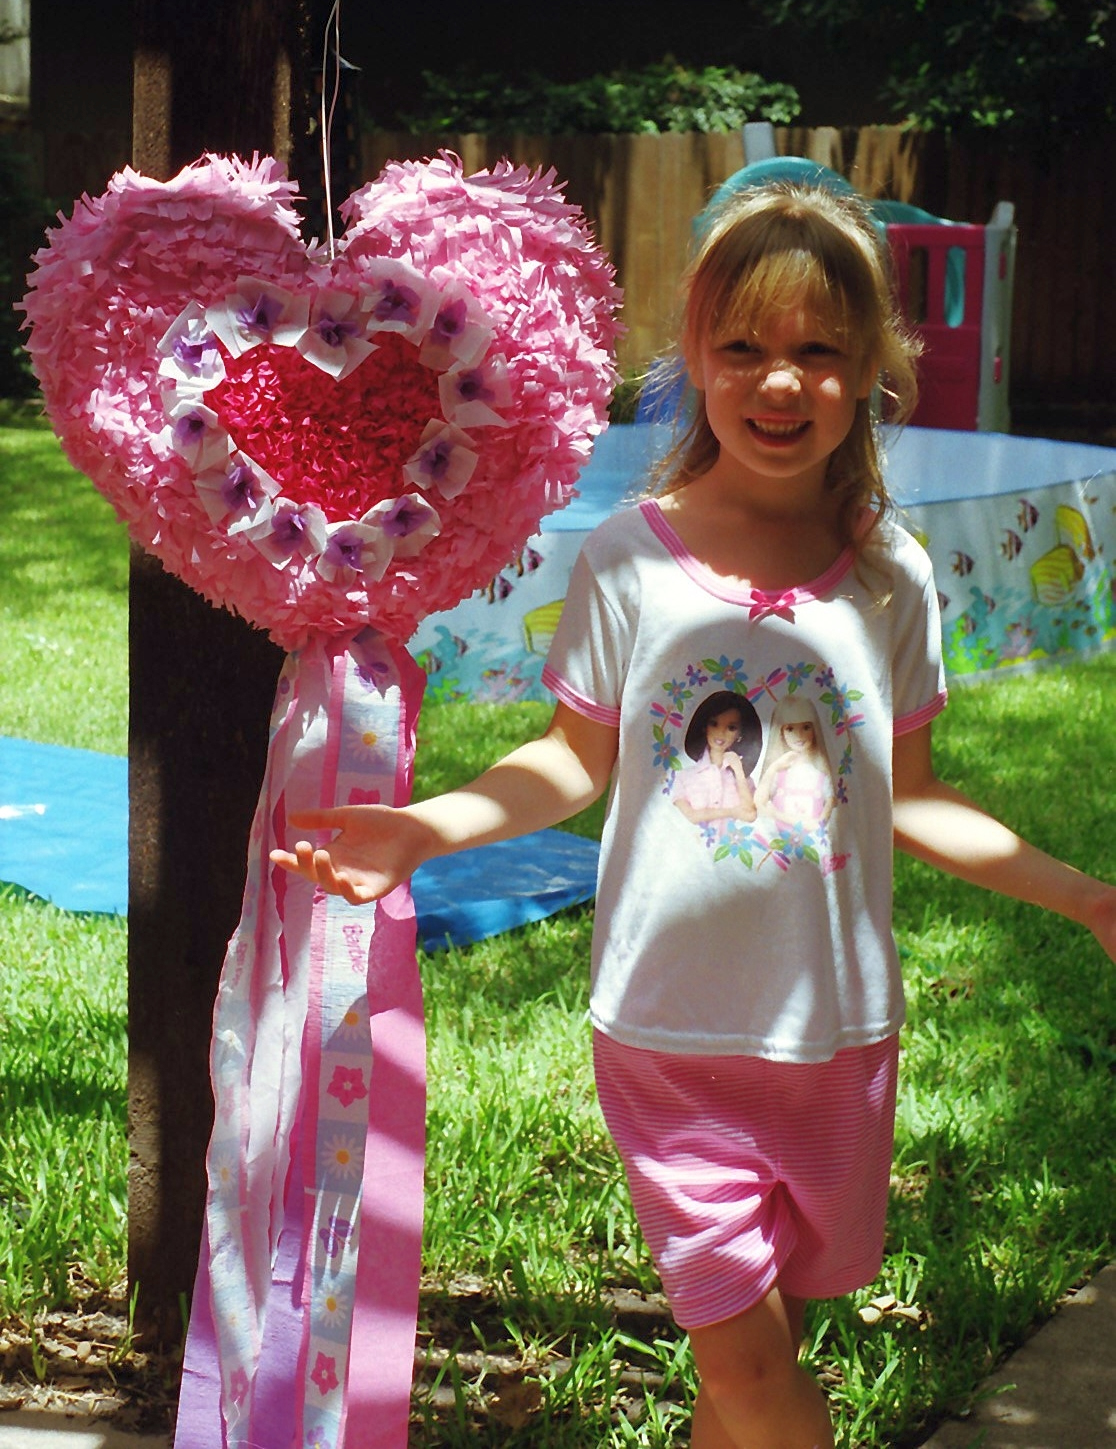
Tell her you love her with a heart piñata – and by giving her the first whack at it, of course.
The Barbie Heart is made from two long, thin balloons bent into a heart shape. The more elegant Bridal Heart piñata is based on a heart-shaped Mylar balloon from Party City. Let’s start with the Barbie Heart.
Barbie Heart
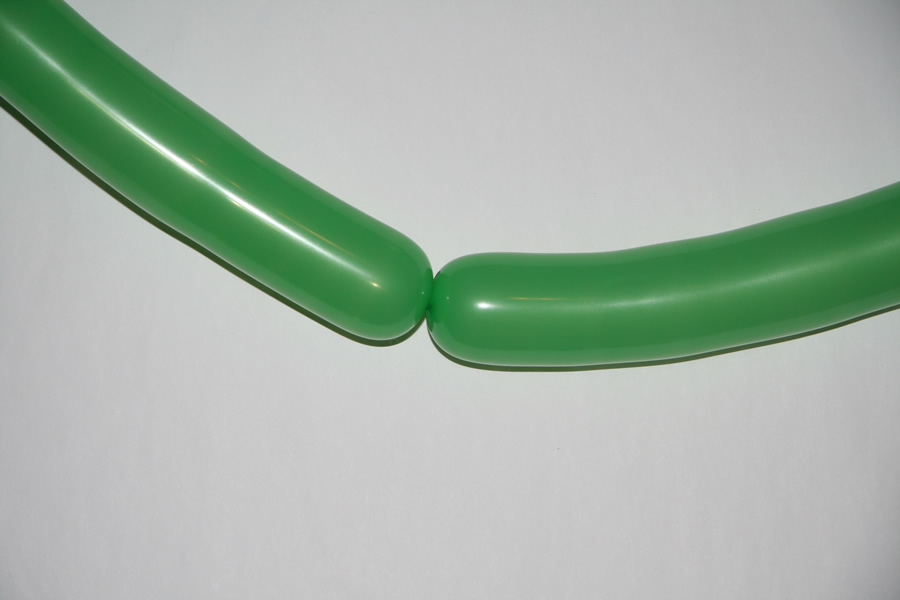
Blow up a long balloon and twist it in the middle. The twist will become the bottom of the heart.
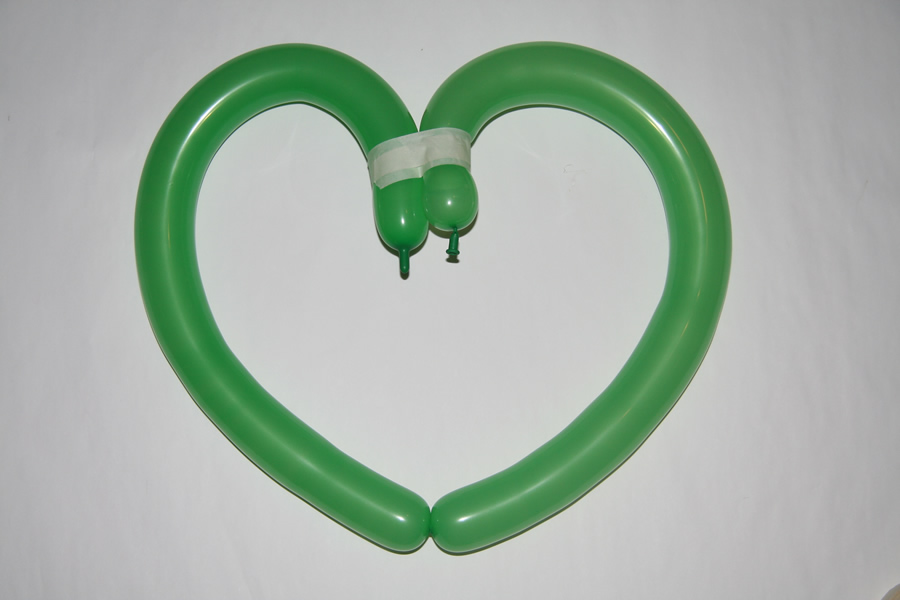
Bend the two ends inward toward each other and tape them together.
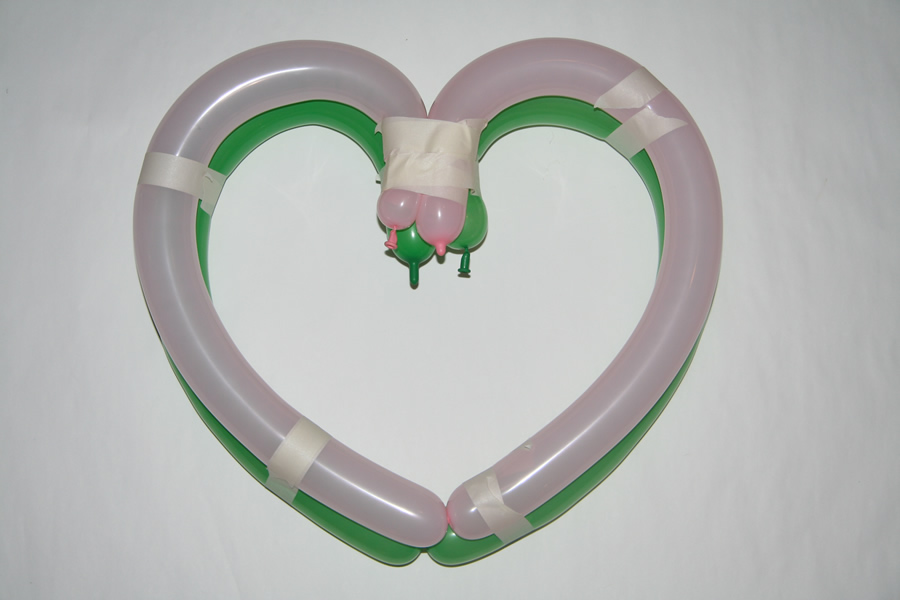
Then do the same with a second balloon, stack it on top of the first one, and tape them together.

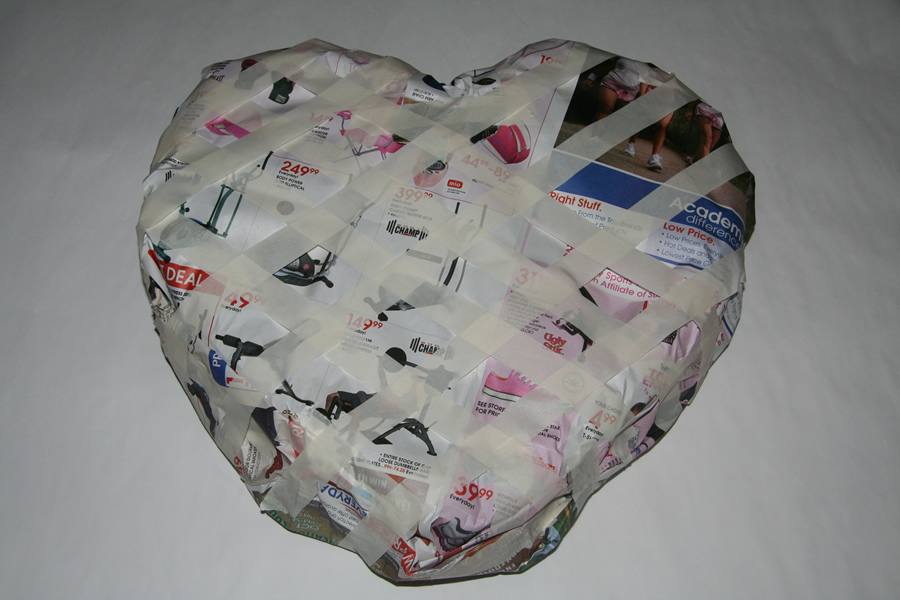
Wrap the balloons in newspaper and use masking tape to smooth down the bumps. If you apply wet papier mâché onto the newspaper at this point, the weight of the wet papier mâché strips will make the sides of the heart sag inward. The newspaper has to be supported before the papier mâché is added.
To support the weight of the wet papier mâché and prevent the sides from collapsing inward, I made a supporting mesh out of masking tape.
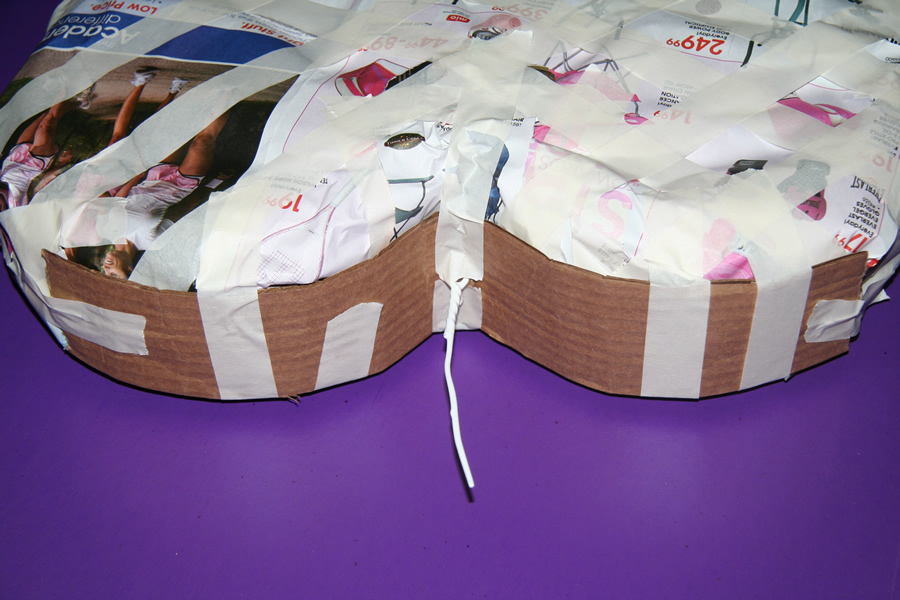
The hanging hook can be installed before any papier mâché is applied. Making and attaching the hook on this piñata is shown in detail on the Adding a Hanging Hook page.

Cover the heart with 2 – 3 layers of papier mâché, allowing each one to dry before applying the next. Then pop and remove the balloons, patch the hole (or just cover it with masking tape) and you’re ready to decorate.
I added crepe paper flowers along with a darker pink region in the middle to help break up the large flat side of the heart. The darker heart shape in the middle was done using the floral technique of decorating with crepe paper.
The flowing streamers at the bottom were taped onto the papier mâché heart before the rest of the decorating was done.

Bridal Heart
When we started with a Mylar balloon we didn’t wrap the balloon in newspaper first because we would have lost too much of the heart shape. We just laid the papier mâché strips directly onto the balloon. We used 3-4 layers to make sure the heart kept its shape when the balloon was popped and removed.
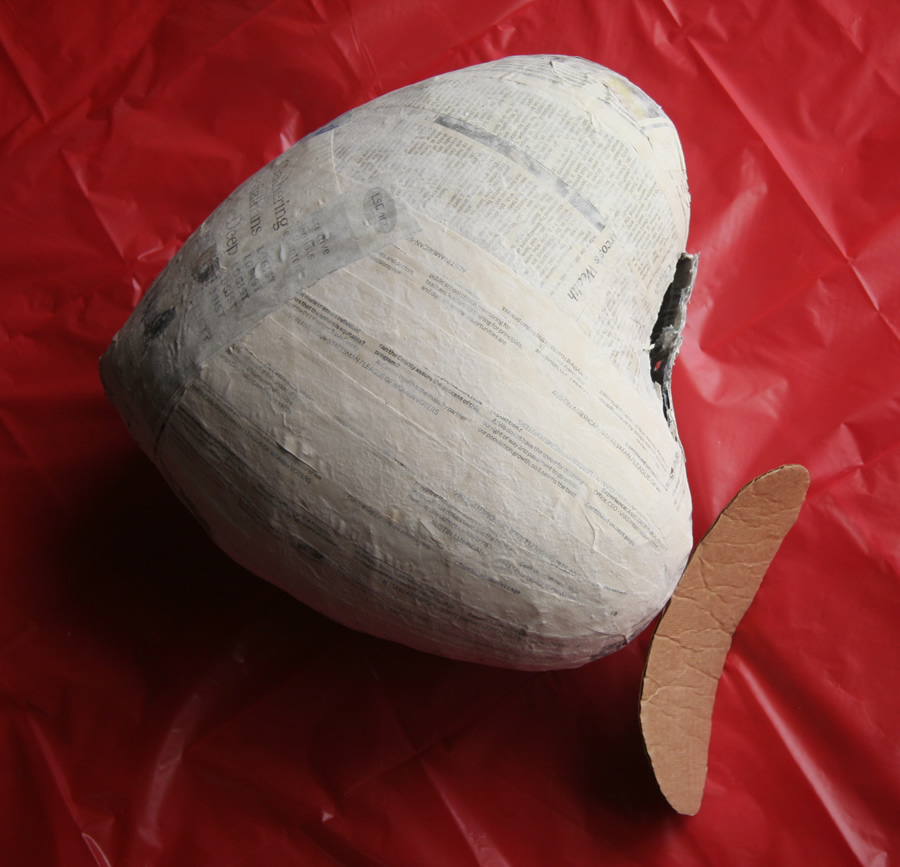
Normally when I add the hanging hook I don’t make the hole where the hook will go because this creates a weak spot right where the hook will be supporting all the weight of the piñata. But this is a small and lightweight piñata, and I wasn’t worried about the hook tearing through. So I cut the heart open right at the top, inserted the hanging hook, and then closed it up again with two layers of papier mâché.
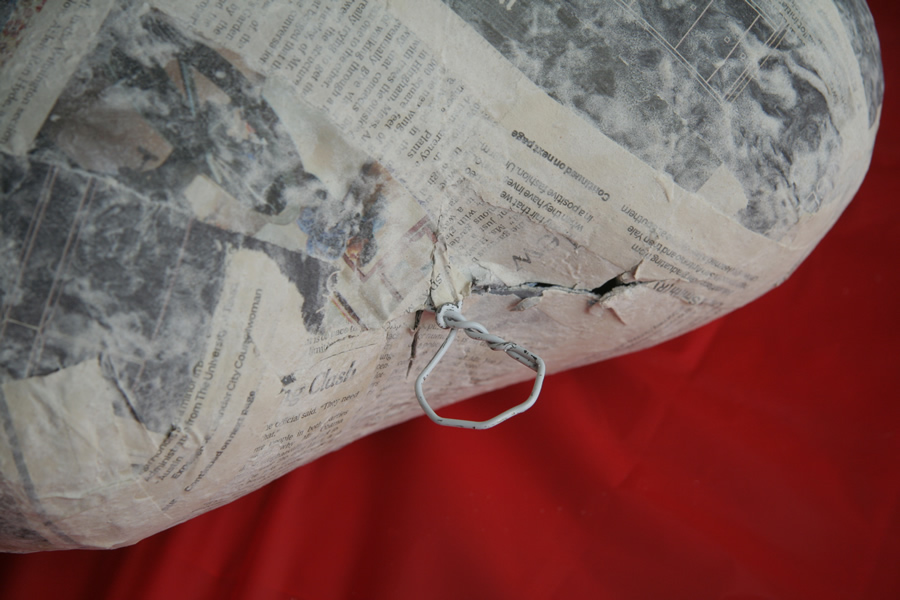
The opening has been folded back closed
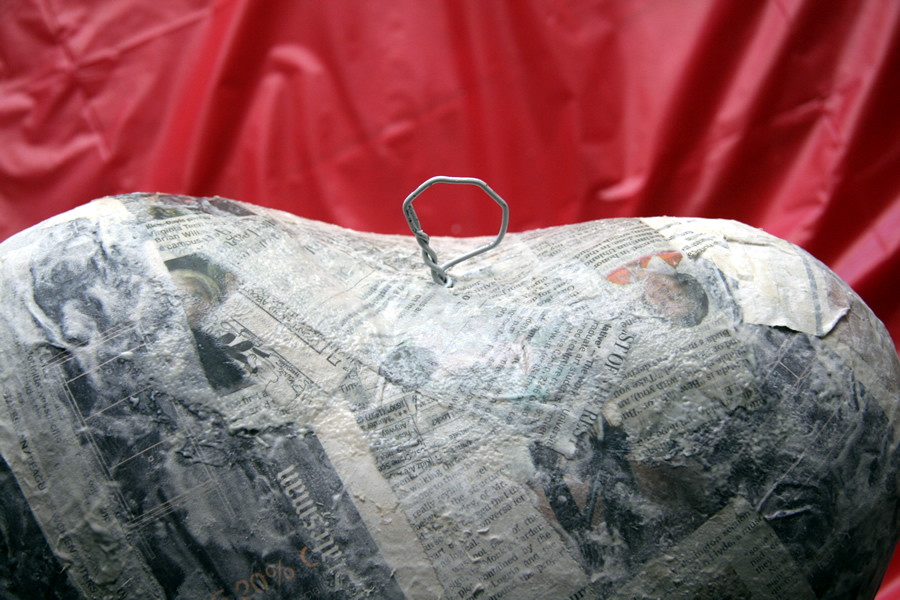
The opening has been cemented over with papier mâché.
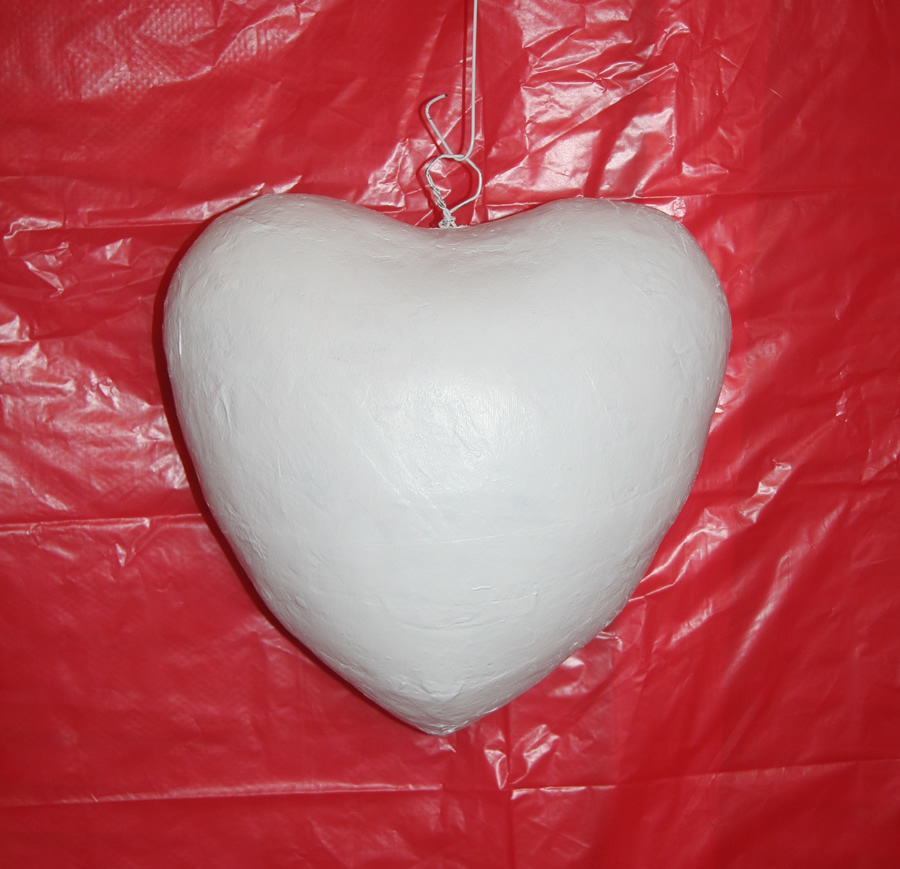
We intended to paint this one, so the first step was to cover it with a stain-sealing primer to prevent the newsprint from bleeding through the paint.
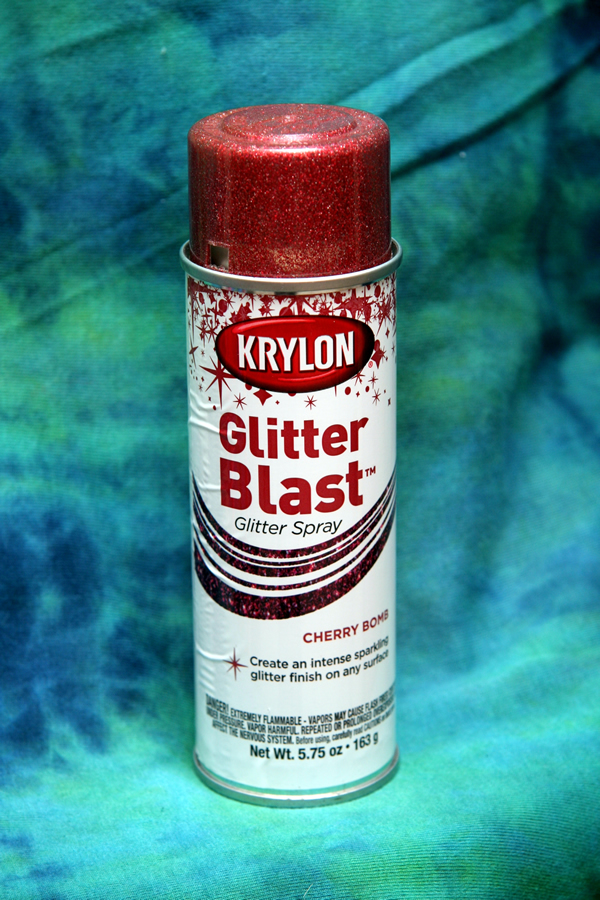
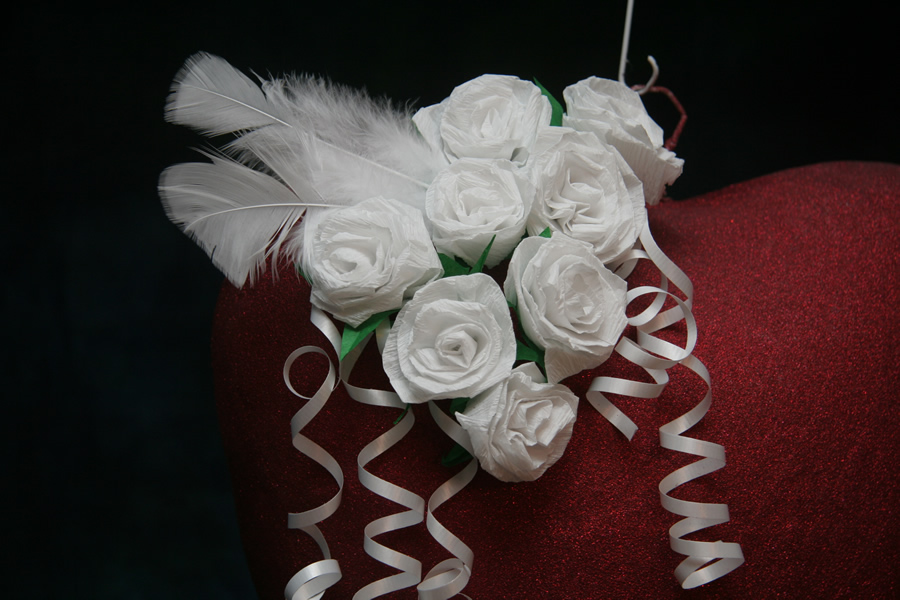
We painted the piñata with Krylon Glitter Blast spray paint. This paint comes in small cans and is expensive ($8/can), and it took two coats to completely cover the white primer. If I had painted a red base coat over the primer to hide the white before using this expensive paint, and I may have gotten away with using only one can of this. You can find it at Jo-Ann and Hobby Lobby, and probably similar stores as well.
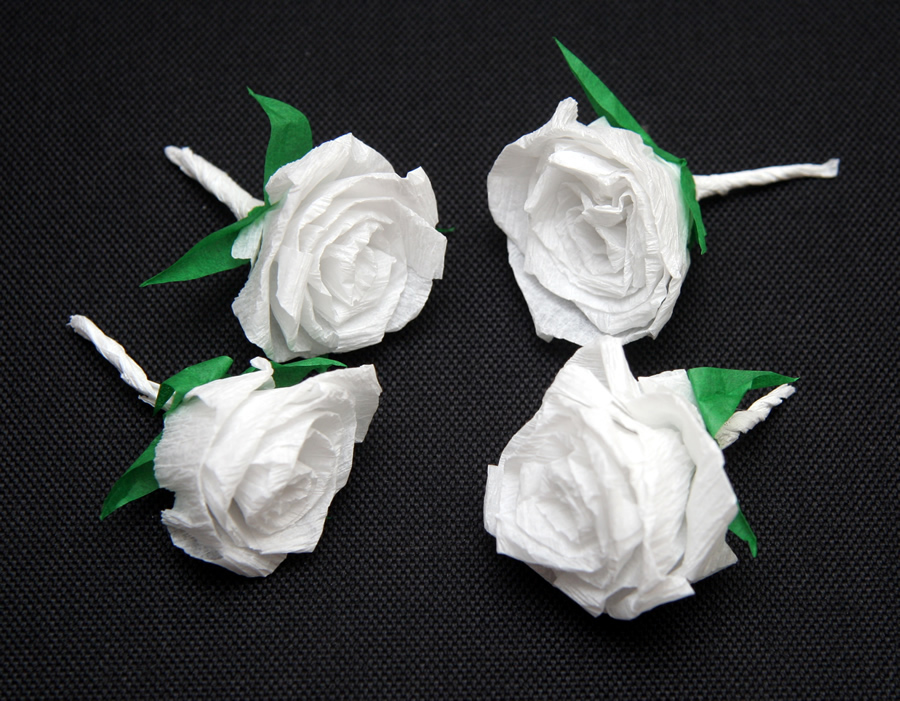
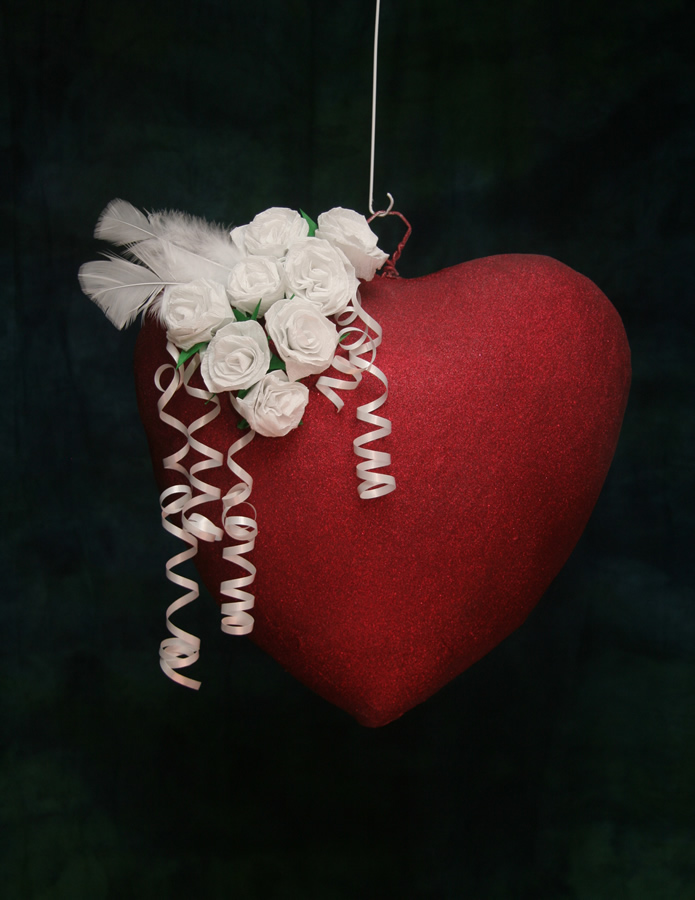
My wonderful wife made the crepe paper roses using instructions we found on YouTube.
She made the green at the base of the flowers out of tissue paper using the instructions at 4:05 in this YouTube video.
The roses have little stems, so I used a power drill to drill holes in the piñata, one rose at a time. When all the roses were placed, I glued them in place using Elmer’s glue.

To complete the decorations I added two feathers that were left over from the Pigasus piñata and some curled white ribbon. The feathers were glued on with Elmer’s glue, and the ribbon was just wrapped partway around the base of the roses and it stayed on.
All in all the Bridal Heart was a simple and inexpensive piñata except for the Glitter Blast paint. The paint is a blood red color with bright red glitter that doesn’t show up well in these photos. In real life the heart piñata sparkles beautifully and doesn’t drop glitter everywhere.